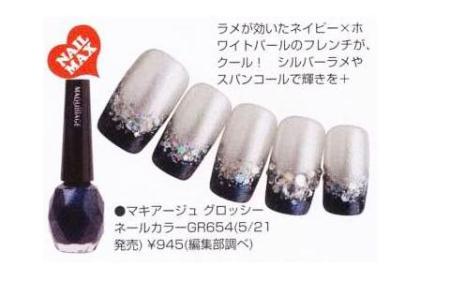
This is a tutorial to help you create elegant and stylish looking nails! This was a look inspired by a look in the Japanese nail magazine, Nail [ネイル] Max! You can check out the video version by click here!
All You Need Is:
Cover Girl’s Continuous Color 3 in 1 in Crushed Pearls
ABSOLUTE! Black Nail Polish
Cover Girl’s Boundless Color Silver Glitter Nail Polish
N.Y.C. Starry Silver Glitter Nail Polish
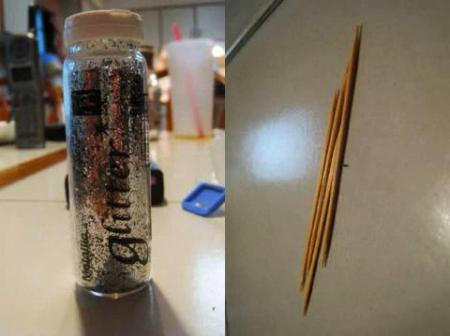
Silver Glitter, Rhinestones, and Toothpicks
Kiss Glass Shine Top Coat
NOTE: You don’t have to use these specific brands! These are the ones I used :]
Here is the inspiration;
First, prep those nails! I used Prep N’Clean Dehydrant by A.S.P. because it dehydrates my nails by removing its natural oils and removes dirt. This makes it easier to prevent peeling. But don’t worry if you don’t have Prep N’Clean Dehydrant, nail polish remover works just as well.
Now, apply your shimmery basecoat. You can use just a plain silver shimmery one or one with a pink tint. Here I used a shimmery pink tinted polish. This will protect your nails and keep them looking smooth and it helps if your nails are slightly discolored. You don’t need to apply too much.
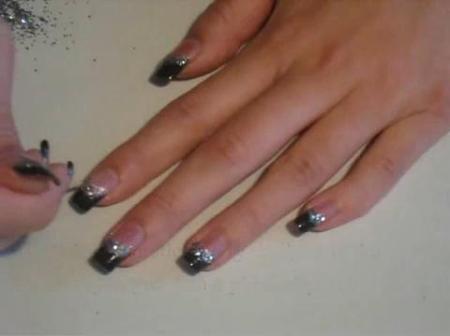
Next, apply your black polish! I realized that in the picture they used a navy shimmery polish.. But they’re your nails, you can do whatever you want with them haha. Now paint along your ‘C’ curve. If you’re not good at it, that’s all right! Just use smaller strokes. Sometimes you just have to paint how you think it looks. Not everyone’s ‘C’ curve is perfect, and here, the shimmery pink polish made it difficult to see where the curve was. You can also extent the strokes past the ‘C’ curve. This helps make your nails look longer. But remember! If you paint too much past your natural curve, it can look awkward.
Next, you need your shimmery glitter polish! Apply it along your ‘C’ curve. You do not need to apply too much because we will be applying more glitter later on.
Now, apply your Starry Silver Glitter Nail Polish. Apply it the same way you apply your shimmery glitter polish! The main reason I’m using it is for the glitter portion, because the N.Y.C. Starry Silver Glitter Nail Polish has bits of different glitters. Gently dab it on. Do not glob it on! Not only will it take forever to dry, it will come out chunky!
For the next step, you need silver glitter and some toothpicks. It will pick up more glitter this way. Pour a bit of glitter on a piece of paper. The reason for this is so you can pour the excess glitter back into the jar. Also, this type of glitter sticks very easily. If you happen to get it on your table, a moist paper towel should be enough to remove it.
You can break off the tip of the toothpick to make it more blunt. For easier application, dab the toothpick in some clear polish and dab it in the glitter. Apply it along your ‘C’ curve.
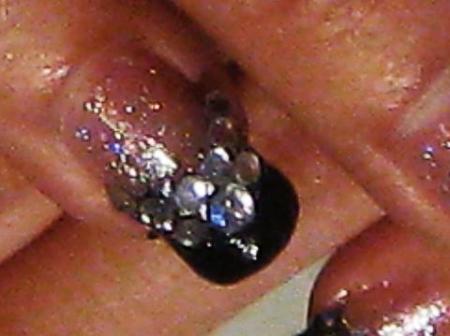
When that’s done drying, get out your rhinestones! I used brush on nail glue to help it stick more. You can also use clear nail polish. I only applied the rhinestones on my ring finger nails. Here I used two different sized rhinestones. Apply the smaller ones along the ‘C’ curve on your ring finger. If you are using nail glue or polish as adhesive, don’t press them on all the way. Just in case you mess up, you can always move them around.
Place the bigger rhinestone in the middle under the smaller stones. Now place two smaller rhinestones next to it.
Finally, your topcoat! For the nails with the rhinestones, apply the topcoat around the stones. You can apply it over, but I’ve never had great results from doing so. So I’d advise you not to. I try to apply a thin layer of topcoat so it does not peel off as easily. And now you are finished!
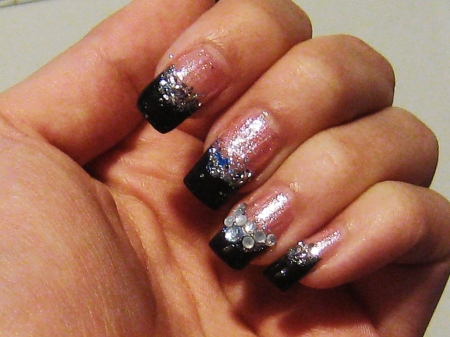
Here is a picture of my nails using the shimmery pink polish.
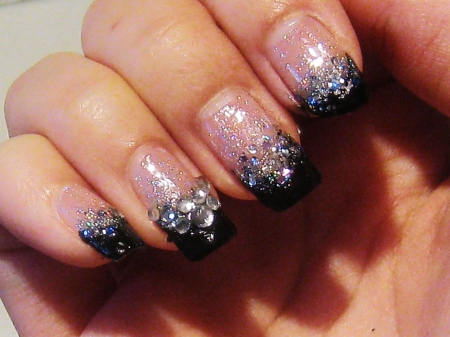
And a picture using the shimmery silver polish.
I hope you enjoyed this tutorial! Stay beautiful ^-^
-Kawaii Riceball





0 comments:
Post a Comment